


Google’s Android software has long facilitated multiple user support, allowing groups of people to share one device but keep their own settings, wallpapers, documents and general content under one profile. The major limitation in the system so far, however, is that multi-user functionality has been a perk preserved for tablets only, but with Android 5.0 Lollipop, phones are finally joining the party. Here, we catch a glimpse of the feature in action, as well as the setup process involved in adding a new user.
Although there has remained a faction of the Android community puzzled by the Big G’s decision to overlook smartphones with its multiple-user infrastructure, the counter argument also makes quite a bit of sense. After all, while folks often share Galaxy Tabs and iPads, smartphones are more personal devices used only by the individual. With that said, though, there’s no doubt that thousands, if not millions will take advantage of this feature once Android Lollipop hits a large portion of end users very soon, and if you’re looking forward to giving it a whirl, the screen grabs currently floating around the blogosphere will almost certainly pique your interest.
Perhaps the least surprising thing about the “new” Android Lollipop multi-user feature is that it’s largely unchanged from the tablet experience. Given that Google seems to have refined the experience of supporting more than one user per device, it’s logical that the search giant wouldn’t go all out in tweaking bits and pieces, but this necessary, even essential option will soon be at the disposal of those lucky enough to have a clear route to Android Lollipop.
To get up and running with the feature, it’s fairly easy, and we’ve outlined a simple guide on how to do so:
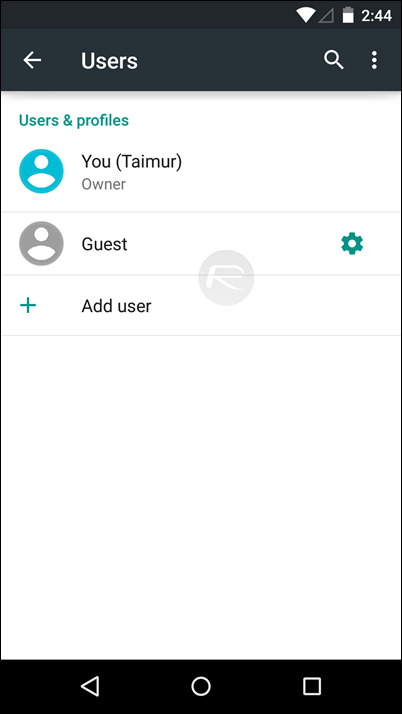
Step 1: Navigate to Settings and then tap on Users.
Step 2: Now you’re going to tap on Add user with a little ‘+’ sign next to it.
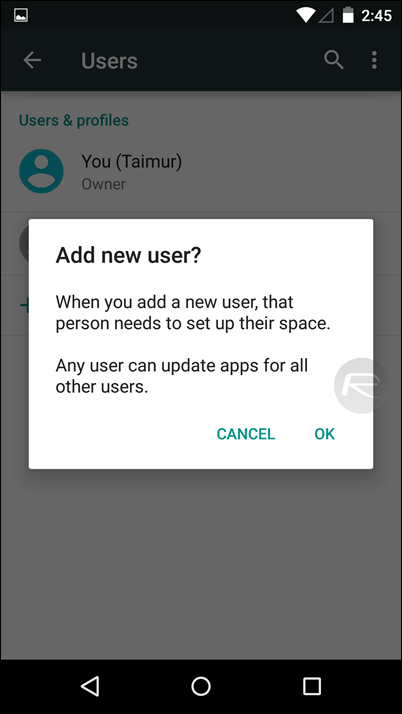
Step 3: You’ll be presented with a ‘Add new user?’ pop-up. Tap on OK.
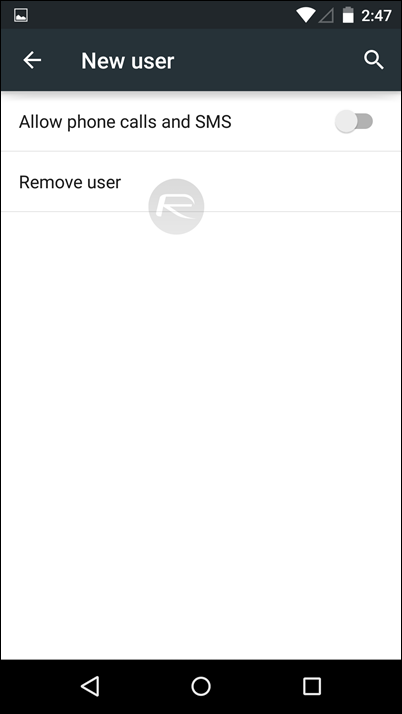
Step 4: Current user will now be logged out and then you will be taken to Android’s initial setup screen where you will go through usual setup procedure to add new user Google Account etc..
Later if you want to remove any account, you can do so by navigating to Settings > Users.

Step 5: That’s it, you’re done. If you want to switch between users, then simply swipe down on the notifications shade from the top of the display and then tap on the little ‘user’ icon on the top right hand corner.
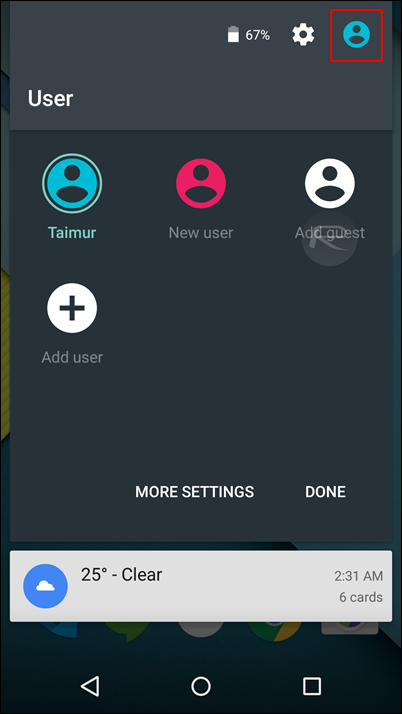
As you’ll likely have gleaned, adding a user is a fairly simple and, for the most part, passive experience. Flitting between accounts is as simple as tapping the switcher button located in the top right-hand corner, and if, say, you have young children, you can permit them to use your device without disrupting any of your settings.


0 comments:
Post a Comment